Top 5 Space-Maximizing Techniques for Your Small Coastal Yard
This post may contain affiliate links. If you make a purchase through one of my links, I may receive a small commission at no cost to you.
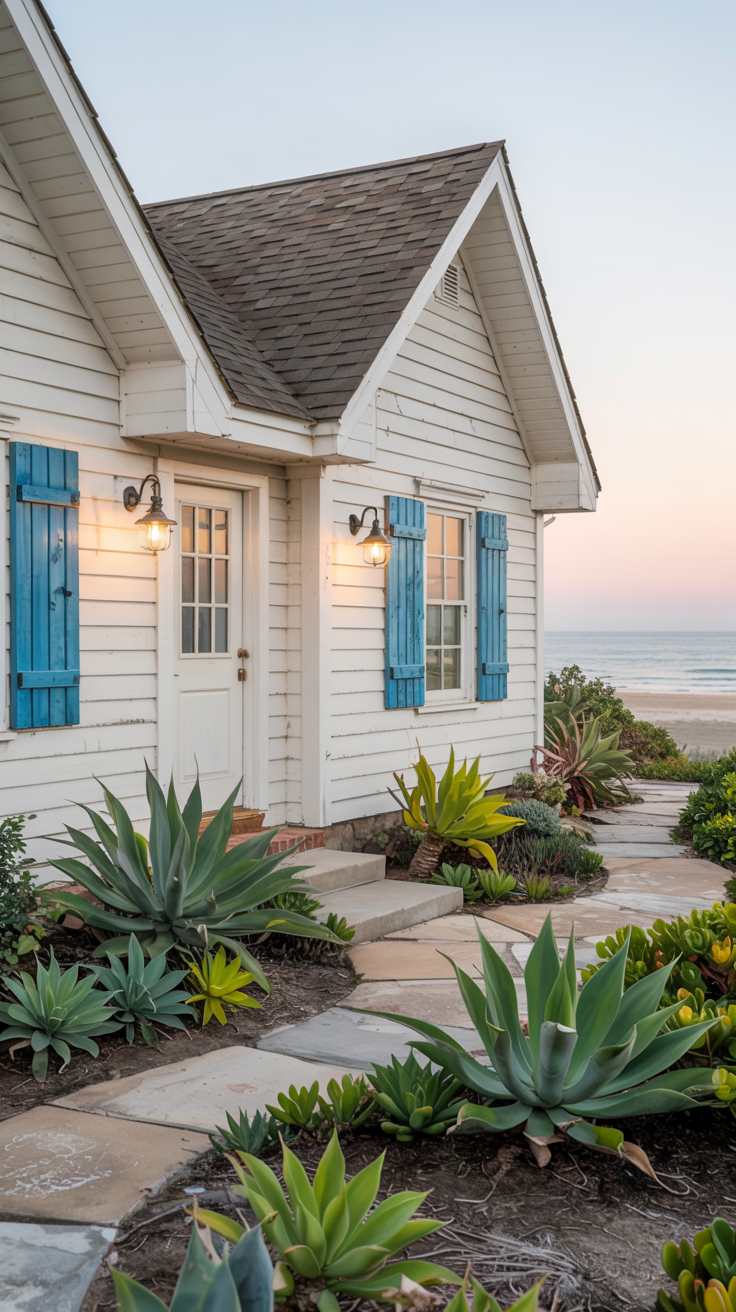
When I first bought my tiny beach cottage three years ago, I nearly cried looking at the barren, postage-stamp yard. My dreams of garden parties and lush coastal landscaping seemed impossible in such a limited space. But necessity truly is the mother of invention!
After countless weekends of trial and error (and yes, a few plant casualties), I've discovered that small coastal gardens can be even more charming than sprawling ones. They just need a different approach.
I still remember the day my neighbor Elaine walked by and asked, "How did you make this place look twice as big?" That's when I knew my space-maximizing tricks were working!
Whether you're dealing with a compact vacation home or a full-time beach bungalow with minimal outdoor space, these five ideas will help you create that breezy coastal magic without requiring acres of land.
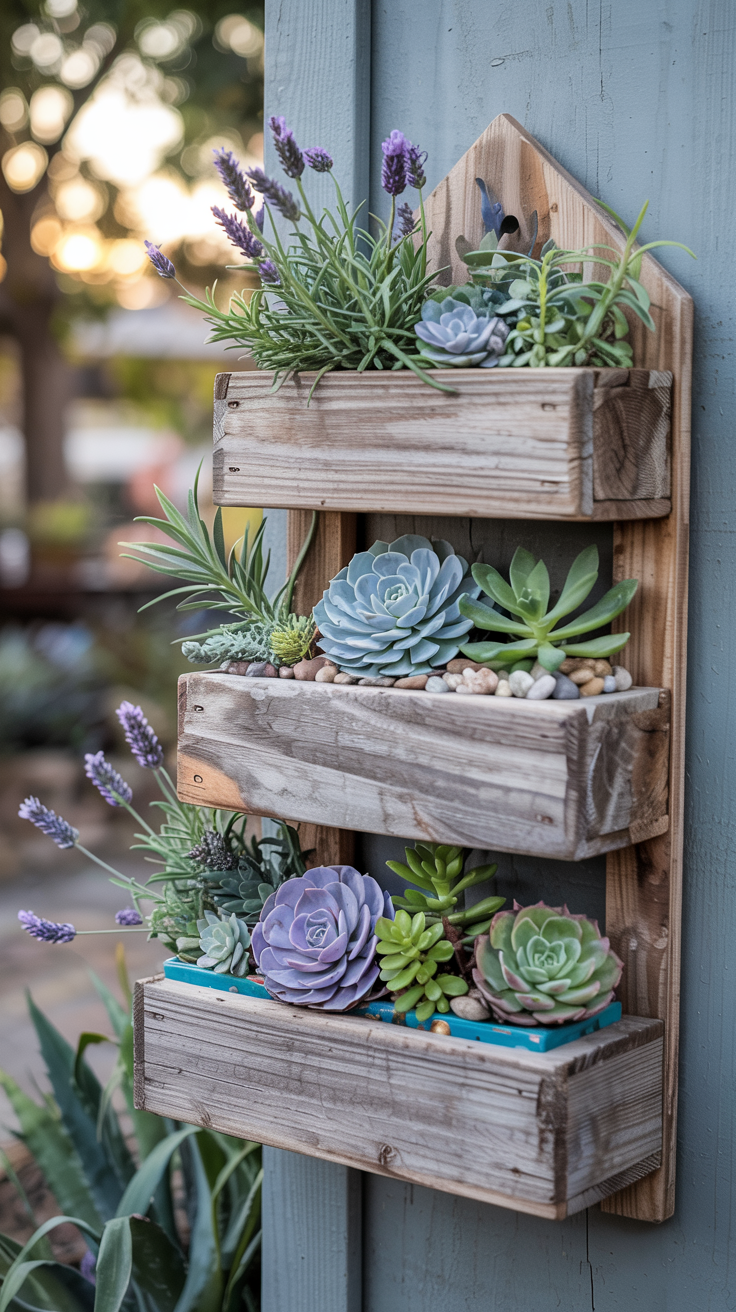
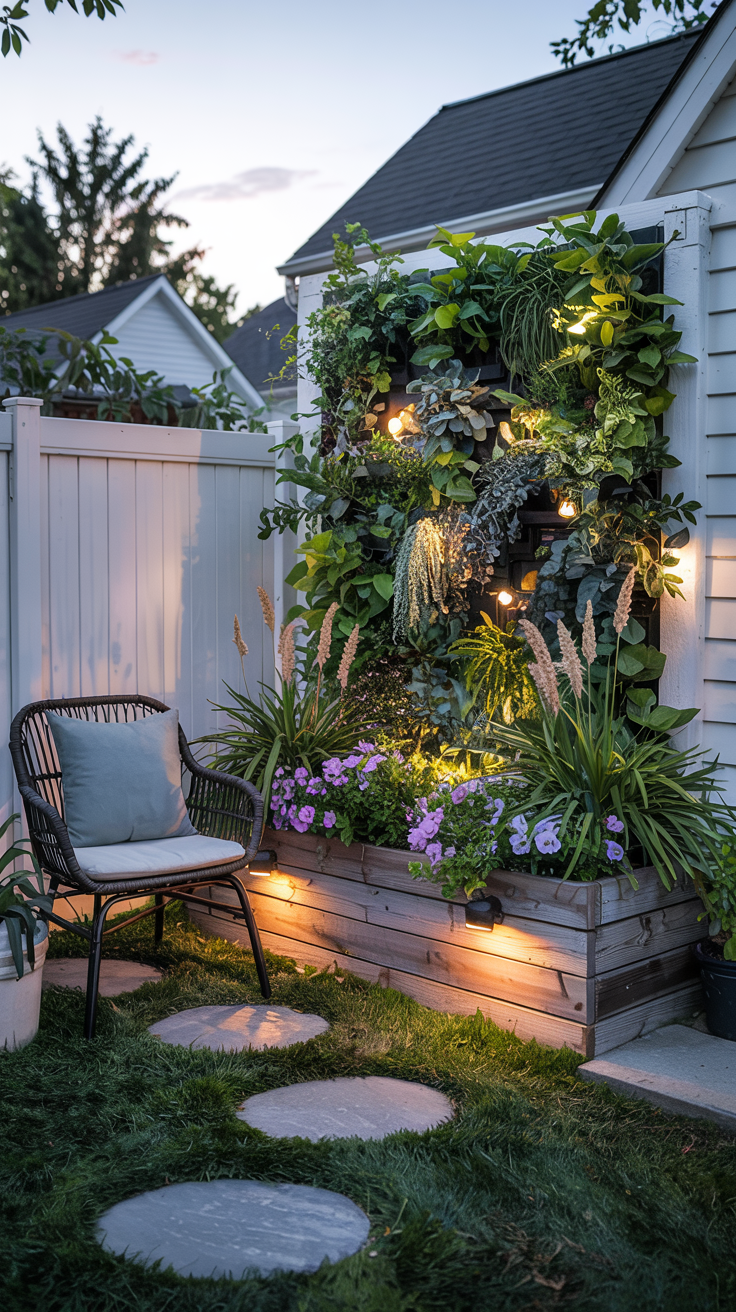
1. Vertical Garden with Coastal Flair
A vertical garden is the perfect solution when ground space is limited, and adding coastal elements creates a unique beachside charm that will make your cottage stand out.
How to Recreate It
Purchase or build a vertical planter system with pockets or shelves (weathered wood or white-painted options work beautifully)
Select coastal-friendly plants that can handle salt spray: succulents, ornamental grasses, sea lavender, and herbs like rosemary
Add a moisture-retaining potting mix specifically formulated for vertical gardens
Install a simple drip irrigation system to ensure consistent watering
Incorporate found beach objects like small pieces of driftwood or shells among the plantings
DIY Project
Create your own vertical garden using repurposed pallets. Sand down a wooden pallet and apply a weathered whitewash finish (1 part white paint to 3 parts water). Staple landscape fabric to the back and bottom, then fill with soil. Plant drought-tolerant coastal varieties in the spaces between slats. Attach rope details or nautical cleats to enhance the coastal feel. The entire project can be completed for under $50!
Buy It Option
Pre-made vertical garden wall planter with pocket system ($75-150)
Coastal plant collection specifically curated for vertical gardens ($30-60)
Weathered wood picture frames to surround smaller vertical gardens ($20-30)
Styling Tips for Beginners
If you're new to gardening, start small with just a few plant varieties that are extremely forgiving, like succulents and air plants. Position your vertical garden where it will receive morning sun but afternoon shade to prevent plant stress. Begin with a smaller vertical garden and expand as your confidence grows. Remember that coastal gardens often look best with a slightly wild, windswept appearance, so don't worry about perfect symmetry!
Creating a vertical garden transforms an ordinary wall into a stunning focal point while preserving your valuable floor space. It's like getting free square footage for your garden!
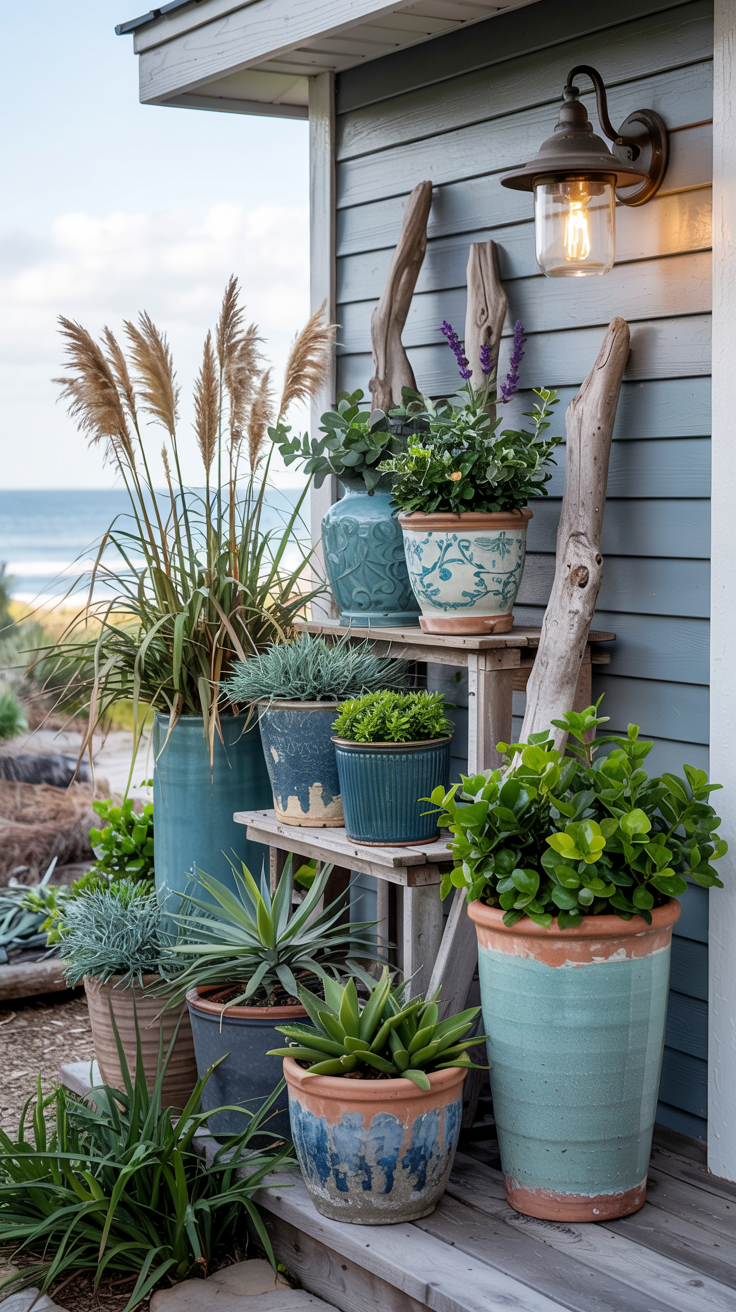
2. Multi-Level Container Groupings
Strategic container placement can create the illusion of a larger, professionally designed landscape while offering flexibility and ease of maintenance.
How to Recreate It
Collect containers in varying heights and widths in a coordinated coastal palette (weathered blues, whites, sandy neutrals)
Source plant stands, overturned crates, or large stones to create different height levels
Select plants with varying heights and textures—tall grasses for back, medium shrubs for middle, cascading plants for front
Group containers in odd numbers (3, 5, or 7) for the most visually appealing arrangement
Position the arrangement to create a natural traffic flow or to highlight architectural features
DIY Project
Create custom coastal container stands using found driftwood or reclaimed wood. For a simple stand, connect four pieces of driftwood or weathered 2x4s in a square, then attach shorter pieces across the top to create a platform. Sand any rough edges and seal with marine varnish for longevity. Alternatively, repurpose old metal buckets by turning them upside down and painting them in beach-inspired colors to serve as plant stands.
Buy It Option
Set of 5 coastal-colored containers in graduated sizes ($60-120)
Pre-made plant stands in weathered wood or metal ($25-75)
Premium coastal potting soil with added sand for drainage ($15-20)
Slow-release fertilizer formulated for coastal plants ($10-15)
Styling Tips for Beginners
When creating container groupings, follow the "thriller, filler, spiller" approach: place a dramatic, tall plant (thriller) in the center, surround it with medium-height bushy plants (fillers), and finish with cascading plants around the edges (spillers). This formula creates instantly balanced containers even for beginners. For ultra-low maintenance, choose succulents and grasses that require minimal watering. Try moving your containers around until you find the most pleasing arrangement before filling them with soil and plants.
Container gardening offers the perfect solution for coastal cottages with poor soil conditions. Plus you can take your favorite plants with you if you ever move!
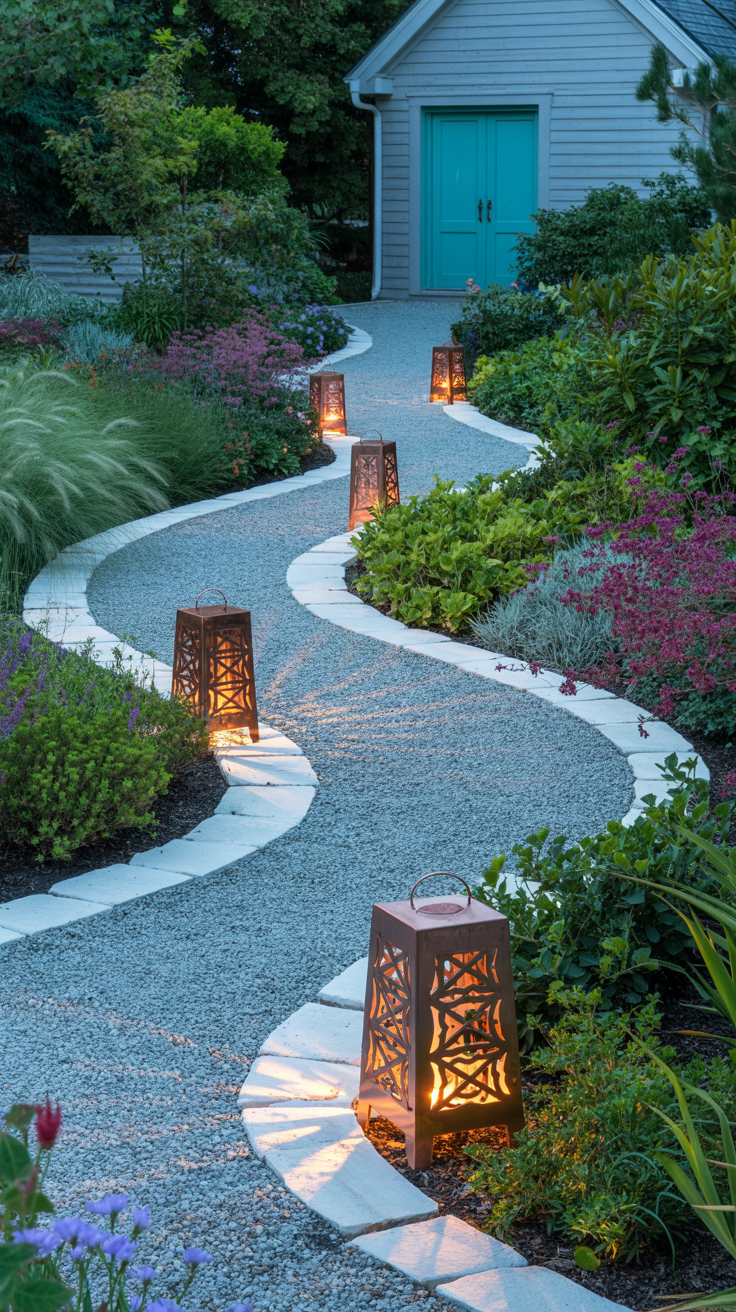
3. Defined Coastal Pathways
A well-designed pathway not only directs traffic through your small space but also adds structure and character to your coastal cottage exterior.
How to Recreate It
Design a gently curving path rather than a straight line to create visual interest and the illusion of more space
Use beach-appropriate materials like crushed shells, pea gravel, or stone pavers set in sand
Edge the pathway with salt-tolerant, low-growing plants that won't overtake the walkway
Add subtle lighting that highlights the path while creating ambiance
Incorporate small points of interest along the route to create a sense of journey
DIY Project
Create simple and affordable pathway lighting using repurposed glass jars. Clean and remove labels from mason jars or food jars, then wrap copper wire with small LED battery-operated fairy lights around the inside. Attach jute rope or sisal around the rim for a nautical touch. Place these along your pathway at varying heights (some directly on the ground, others hung from shepherd's hooks) to create a magical coastal evening ambiance without complex electrical work.
Buy It Option
Crushed oyster shells for pathway material (approximately $5-8 per square foot)
Edging material like flexible plastic or metal ($30-50 for a small pathway)
Set of solar copper pathway lights ($50-90)
Pre-selected grouping of coastal path-friendly plants ($30-60)
Styling Tips for Beginners
When creating a pathway in a small space, keep the width appropriate. Generally 24-36 inches is perfect for a cottage feel without wasting valuable space. For the easiest maintenance, choose a pathway material that complements your home's exterior colors. If you're unsure about a permanent pathway, try laying it out with rope first and live with it for a few days to ensure the flow works for your space. Remember that coastal pathways look best when they appear slightly weathered and not too formal or structured.
A thoughtfully designed pathway transforms a simple walk to your door into a coastal experience that sets the tone for your entire cottage aesthetic!
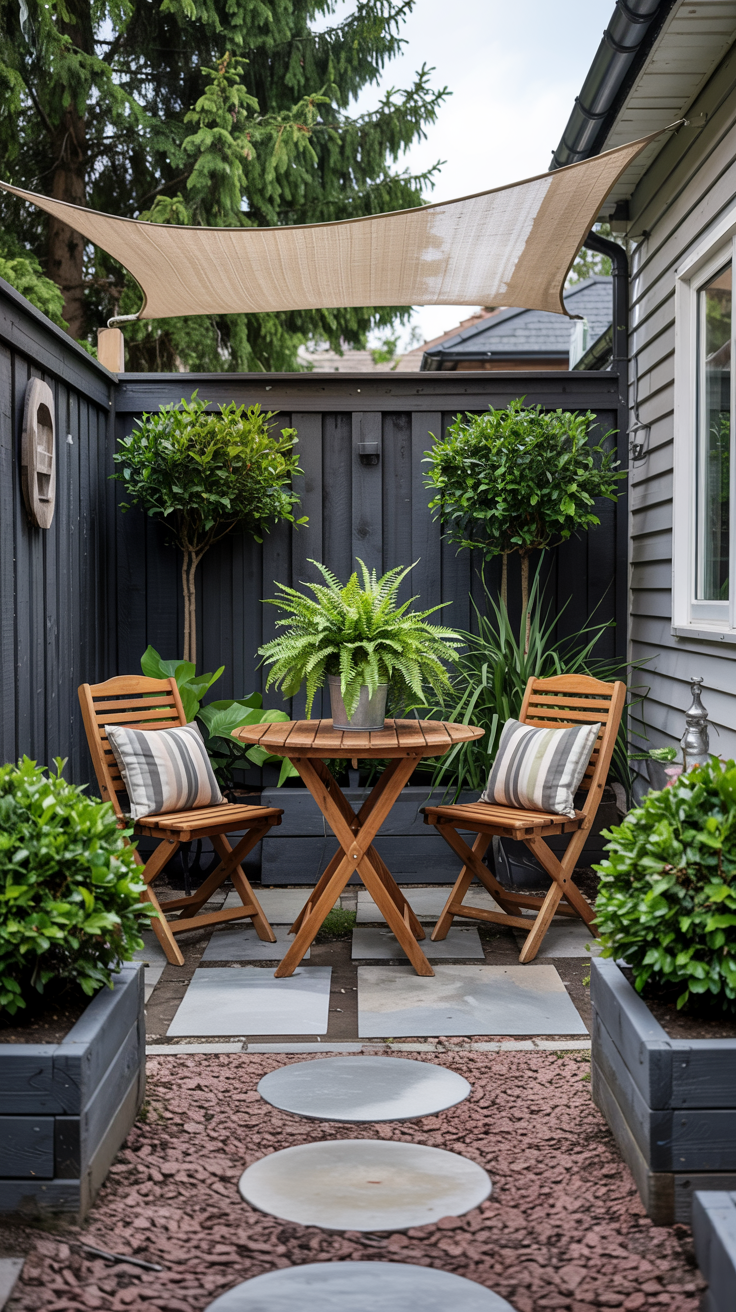
4. Pocket Garden Retreats
Small, focused garden areas create the feeling of a retreat even in the tiniest spaces, providing a perfect spot to enjoy your coastal surroundings.
How to Recreate It
Identify an underutilized corner or side yard space approximately 5-8 feet in diameter
Create a simple foundation with crushed shells, decomposed granite, or pavers
Select compact, salt-tolerant plants that provide a sense of enclosure without overwhelming the space
Add appropriately-sized seating—a small bistro set or bench works perfectly
Incorporate one focal point like a small water feature, sculpture, or special plant
DIY Project
Create a simple but stunning tabletop water feature for your pocket garden using a shallow ceramic bowl, a small submersible pump, and beach finds. Fill the bowl with water, arrange smooth beach stones around the submerged pump, and add a few special shells or sea glass pieces. The gentle bubbling creates both soothing sounds and movement in your tiny garden retreat. Total cost is typically under $40, and it can be easily disassembled for cleaning or winter storage.
Buy It Option
Pre-planned "garden in a box" with coastal plants sized for small spaces ($75-150)
Small self-contained water feature ($60-120)
Weather-resistant outdoor rug in coastal colors ($40-80)
Styling Tips for Beginners
When creating a pocket garden, focus on the view from your seating position. Place your most interesting plants and features where they'll be most appreciated while sitting. Use the "less is more" approach in small spaces. A few carefully selected elements create more impact than many competing features. Consider using scented plants like lavender or herbs to add another sensory dimension to your tiny retreat. If space is extremely limited, even a simple chair with one beautiful pot and a small side table can create the pocket garden effect.
Your pocket garden becomes a destination within your landscape. Proof that you don't need acres of space to create a meaningful outdoor retreat with coastal charm!
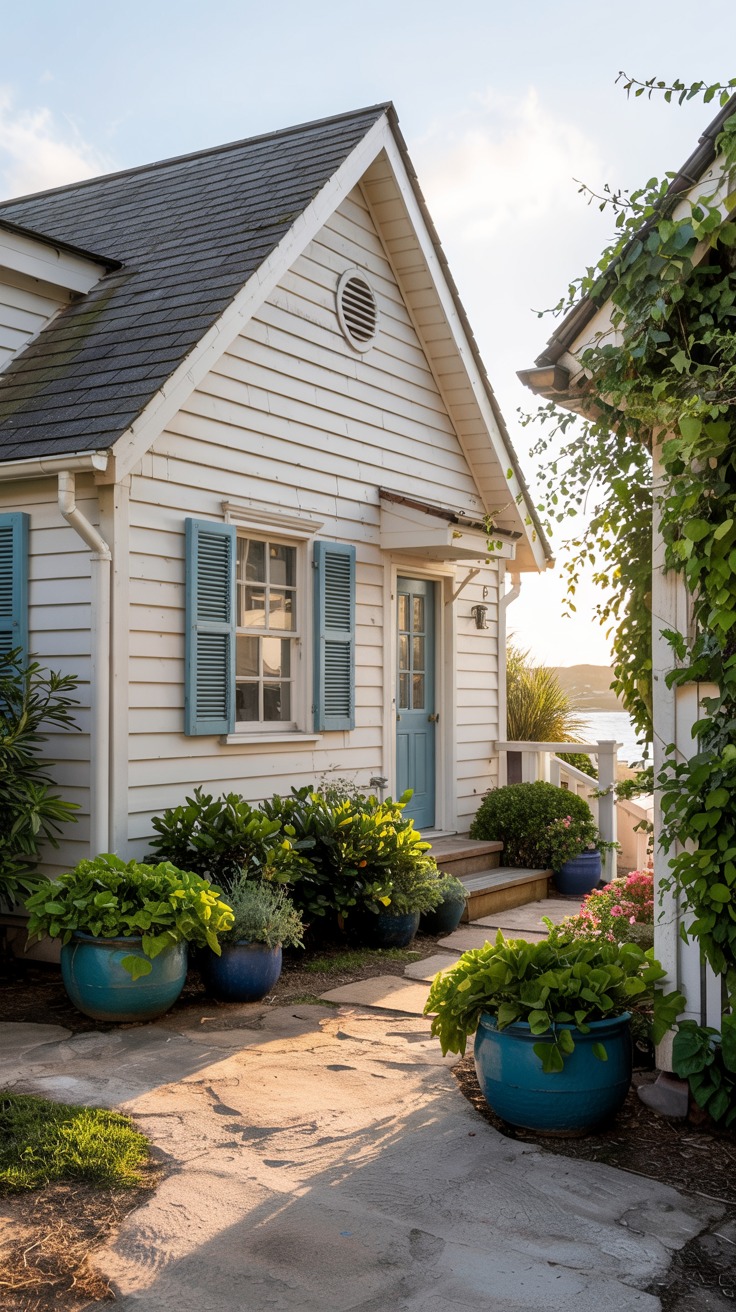
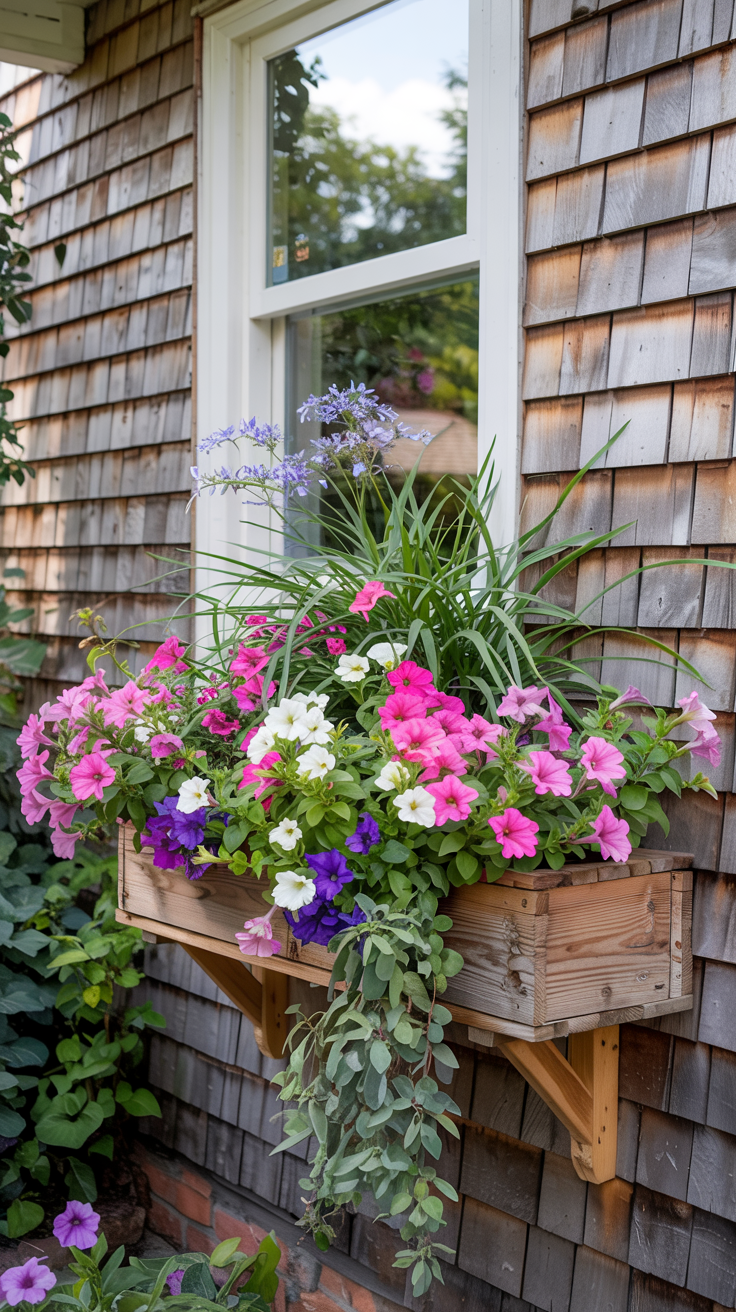
5. Seaside Cottage Window Boxes
Window boxes instantly add charm and curb appeal to cottage exteriors while taking up zero ground space, making them perfect for small coastal homes.
How to Recreate It
Install sturdy, weather-resistant window boxes that complement your cottage style
Line boxes with coco fiber or use self-watering inserts to provide optimal growing conditions
Select salt-tolerant plants with a mix of textures—grasses, succulents, and small flowering perennials work well
Create a planting scheme with upright plants in back, full plants in middle, and trailing varieties in front
Use lightweight, well-draining potting mix specifically formulated for containers
DIY Project
Build custom window boxes using cedar fence pickets for an affordable and charming option. Cut and assemble pickets to create rectangular boxes sized to fit your windows, leaving small drainage gaps between bottom boards. Apply a diluted wash of paint in a coastal color, allowing the wood grain to show through, then distress lightly with sandpaper for an authentically weathered look. Add metal bracket supports that complement your cottage's hardware. The entire project typically costs $20-30 per window box.
Buy It Option
Pre-made fiberglass or composite window boxes in coastal colors ($50-100 each)
Self-watering window box liners ($15-30 each)
Premium lightweight container soil formulated for window boxes ($15-20)
Pre-planned coastal window box plant collection ($25-40 per box)
Styling Tips for Beginners
When designing window boxes, follow the simple "uplift, upright, filler, spiller" formula for foolproof arrangements. Choose plants with similar water needs to ensure easy care. For continuous impact, include some evergreen elements like grasses or succulents that look good year-round, then supplement with seasonal flowers. Consider the view from inside as well as outside. Window boxes should enhance both perspectives. If you're nervous about plant choices, start with extremely hardy varieties like sedum, ornamental grasses, and lavender, which forgive inconsistent watering and thrive in coastal conditions.
Window boxes create instant character and allow you to garden even if you have no yard at all. They're like jewelry for your coastal cottage, adding that perfect finishing touch!
Bringing It All Together
My coastal cottage garden has become more than just decoration; it's where I drink my morning coffee listening to the fountain, where I clip herbs for dinner from my vertical garden, and where friends gather along the shell pathway for impromptu summer get-togethers.
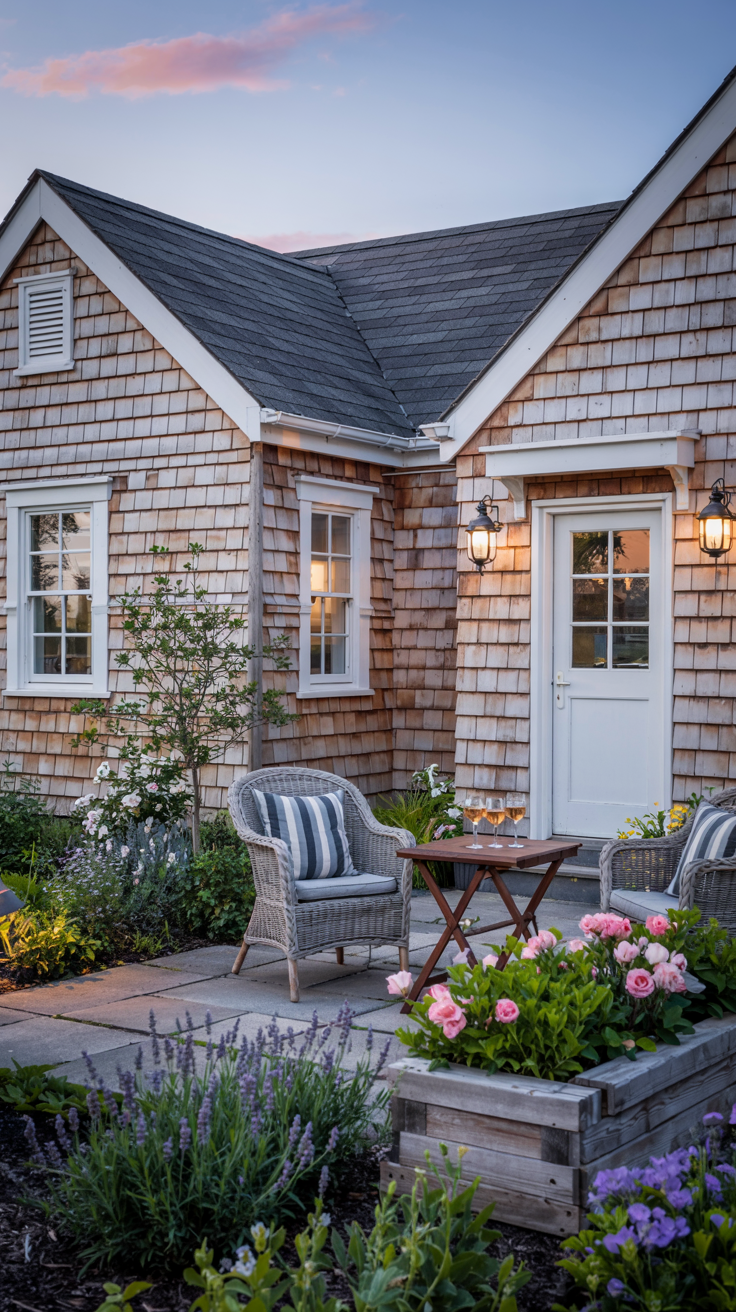
The space limitations that once frustrated me have actually forced me to be more intentional and creative, resulting in a garden with more personality than many larger landscapes I've seen.
If you're staring at your small cottage exterior feeling overwhelmed or limited, I promise there's magic waiting to happen.
Start with just one of these ideas; perhaps the window boxes or a small container grouping. Then watch how it transforms over the season.
Small gardens invite intimacy and attention to detail that larger spaces sometimes lack. They remind us that, like the perfect seashell found on morning walks, sometimes the most beautiful things come in small packages.
Your cottage garden isn't limited by its square footage. It's only waiting for your creativity to bring it to life.